Accounting firms live inside Microsoft 365. Outlook, SharePoint, Teams, OneDrive — they’re already the backbone of daily work.
Yet when it comes to collecting documents from clients, many firms still struggle with:
- Missing files
- Endless follow-ups
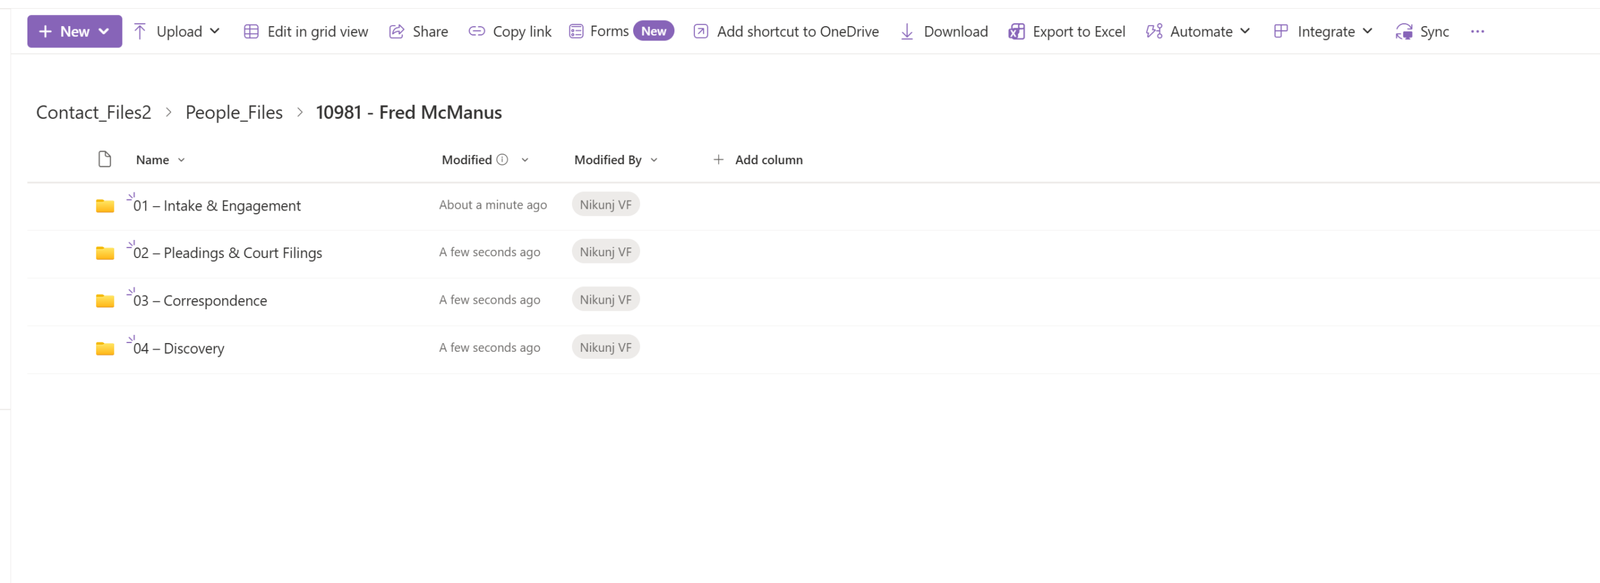
- Disorganized SharePoint folders
- Delayed tax work and frustrated staff
The problem isn’t Microsoft 365.
It’s how document collection is implemented.
Below are the five most common ways accounting firms collect client documents using Microsoft 365, explained from a SharePoint practitioner’s perspective — and why only one approach truly works at scale.
1. Email Attachments (Outlook)
How it works
Firms email clients a list of required documents and ask them to reply with attachments.
Why firms still use it
- It’s familiar
- No setup required
- Clients already use email
Why it fails
From an operational standpoint, email is the least reliable intake method:
- Attachments arrive in different inboxes
- Files get buried in long threads
- Versions are mixed
- Staff must manually download, rename, and upload to SharePoint
During tax season, this turns into pure chaos.
Email is a communication tool — not a document collection system.
Verdict: Fails immediately at scale
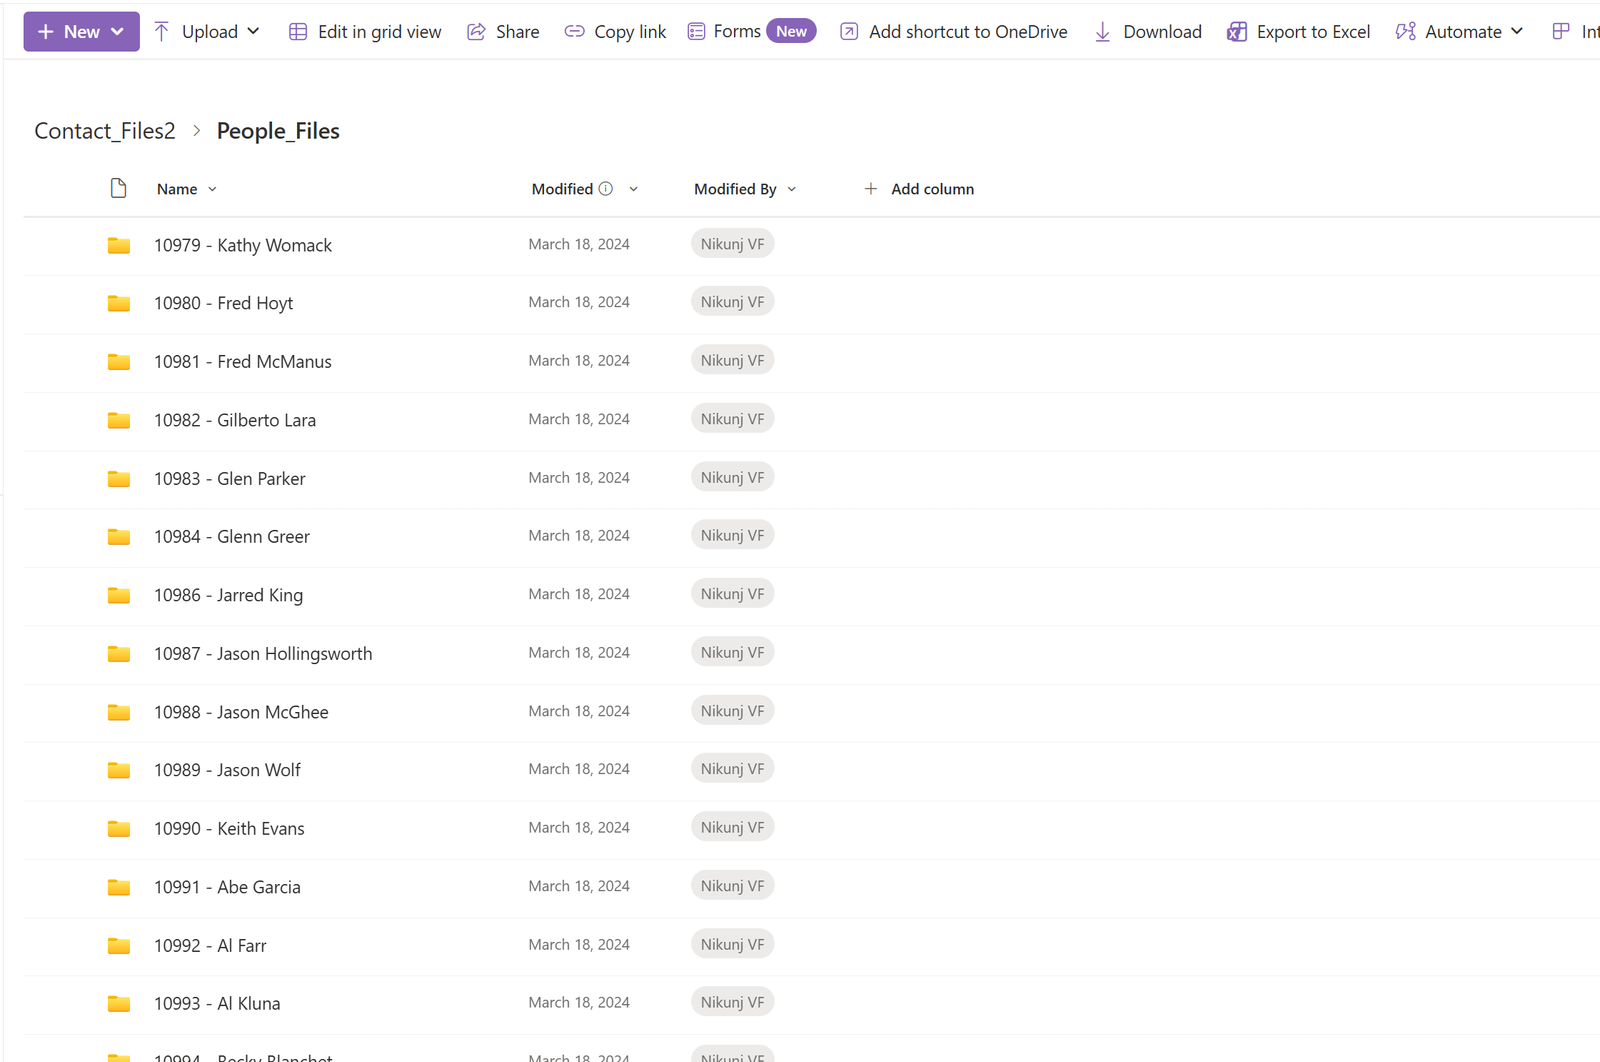
2. Sharing a OneDrive or SharePoint Folder Link
How it works
The firm creates a folder in SharePoint or OneDrive and shares the link with the client.
Why it feels better than email
- Files land directly in Microsoft storage
- No attachments clutter inboxes
- Permissions are controlled
Why it still breaks
This approach fails in subtle but critical ways:
- Clients don’t know what to upload
- No checklist or structure
- No visibility into what’s missing
- Clients accidentally upload to the wrong folder
- No reminders when documents are incomplete
Staff still end up chasing clients — just with links instead of attachments.
Verdict: Better than email, but still manual and unreliable
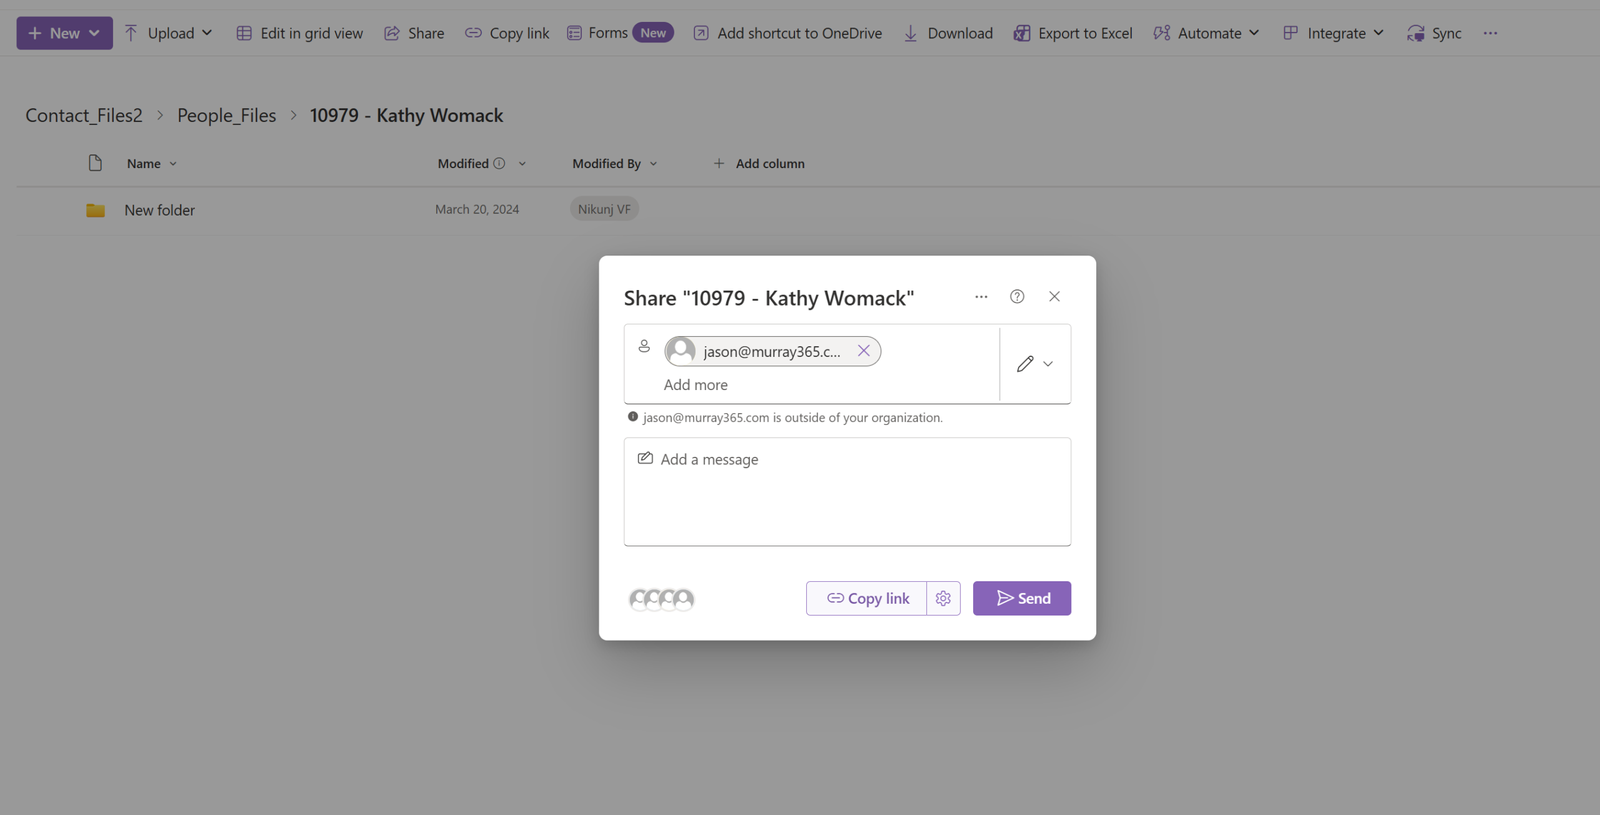
3. Inviting Clients into SharePoint as External Users
How it works
Clients are invited as guest users into SharePoint sites or libraries.
Why firms attempt this
- Strong security
- Native SharePoint permissions
- Centralized storage
Why clients hate it
From a client experience perspective:
- Requires Microsoft account or verification
- Confusing guest access prompts
- Permission issues are common
- High support overhead
From an admin perspective:
- Guest access governance
- Security reviews
- Ongoing access management
This approach technically works — but introduces massive friction for clients.
Verdict: Secure, but impractical for real-world client intake
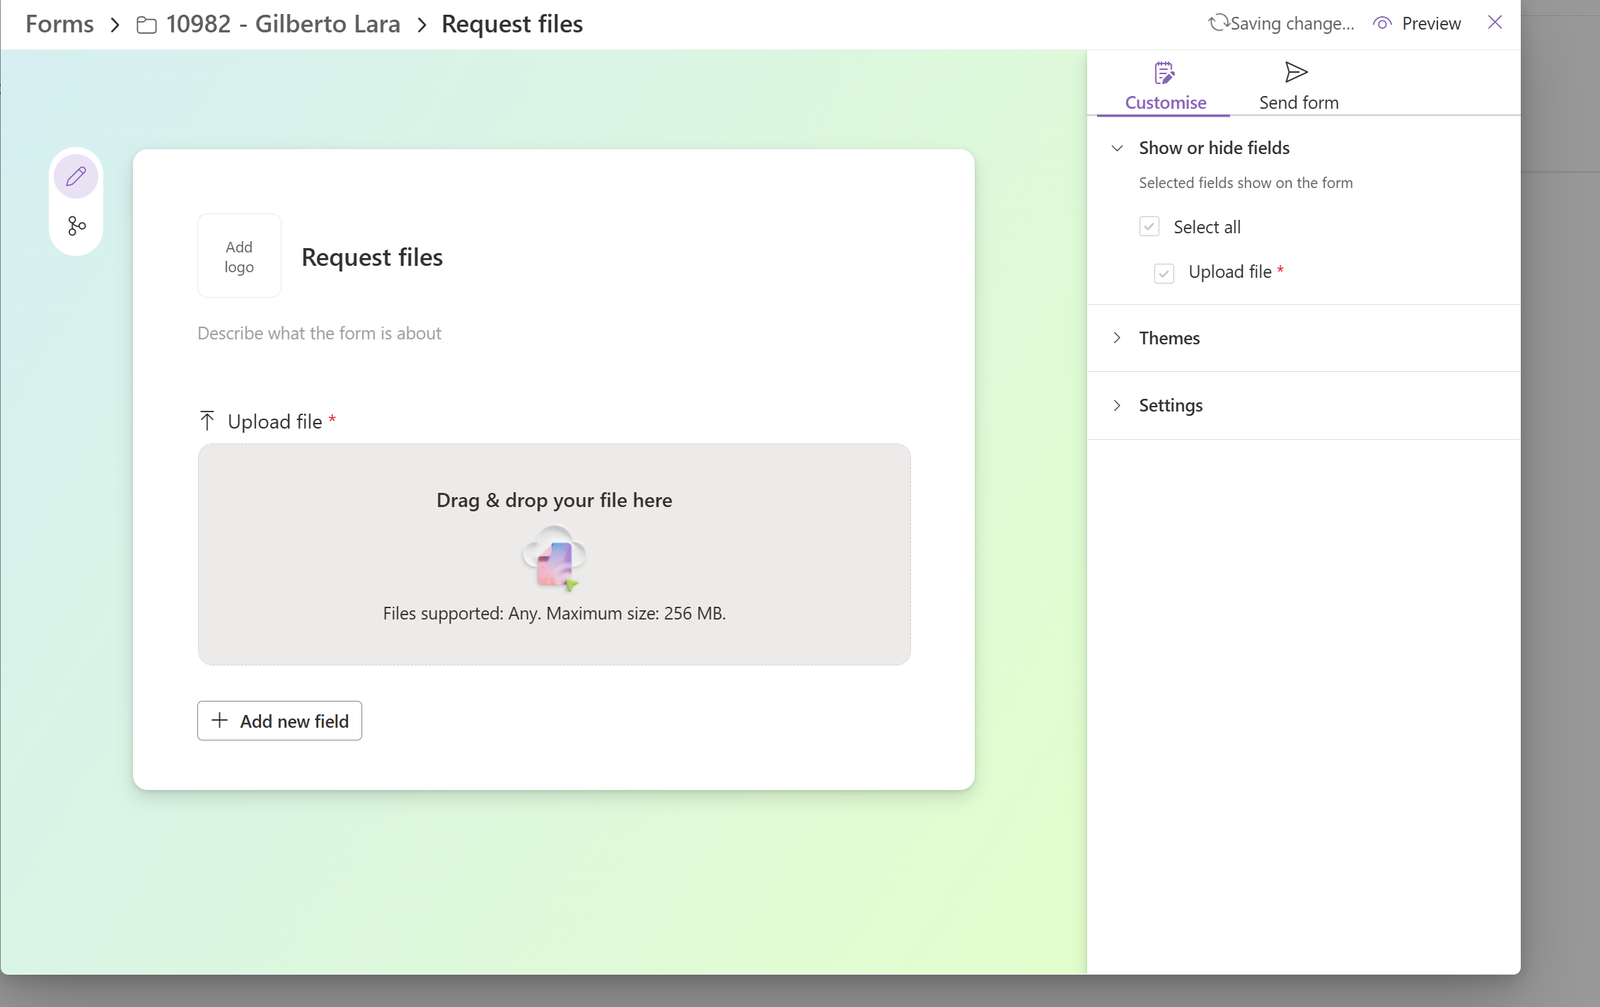
4. SharePoint “Request Files” Feature
How it works
SharePoint allows users to generate a Request Files link that lets external users upload files without seeing the folder.
Why this looks promising
- No login required for clients
- Files upload directly to SharePoint
- More secure than email
Where it falls short
While this feature is useful, it has serious limitations for accounting workflows:
- No checklist of required documents
- No enforcement of “one file per requirement”
- No automated follow-ups
- No progress tracking
- No workflow triggers when files arrive
- No client-friendly guidance
It’s a single upload link, not a complete intake process.
Verdict: Good building block, not a complete solution
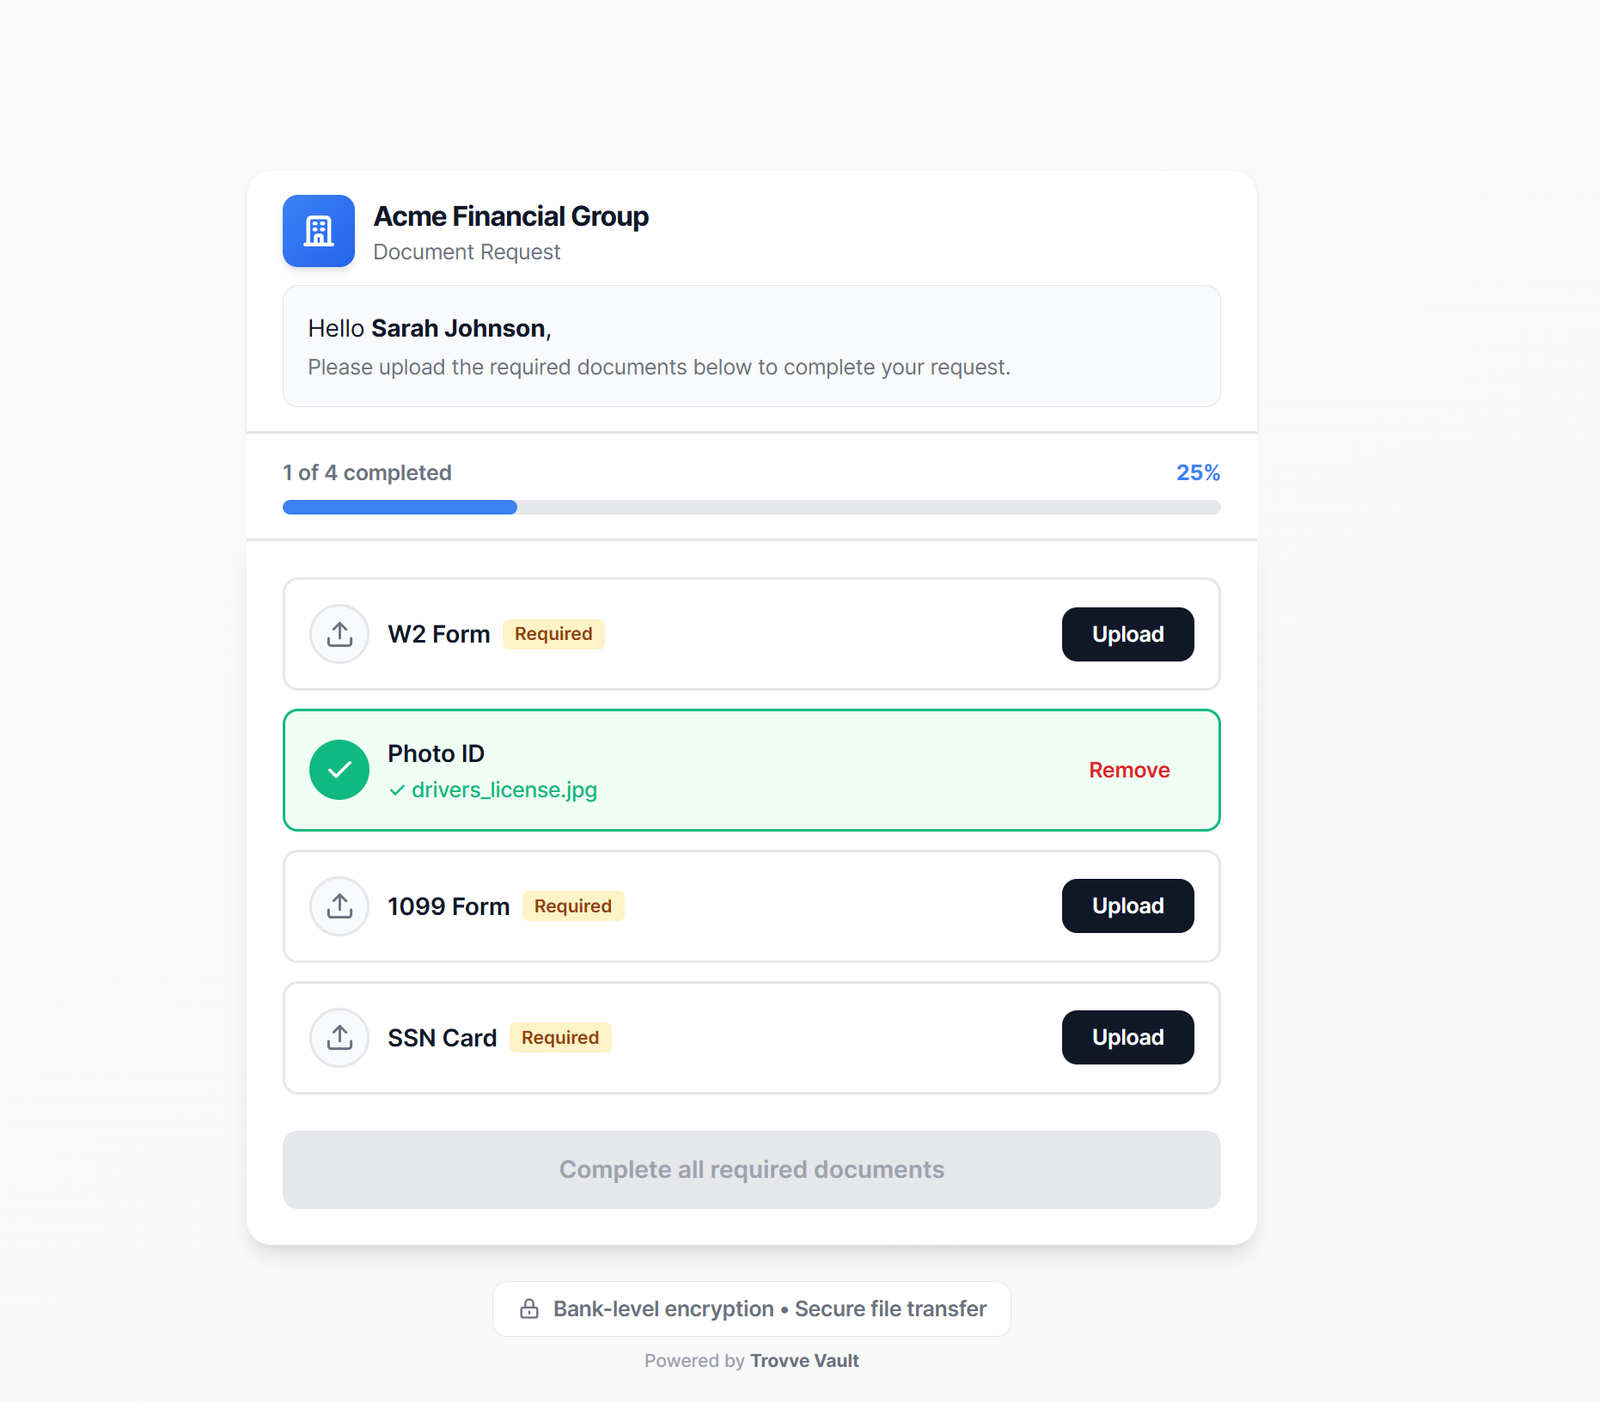
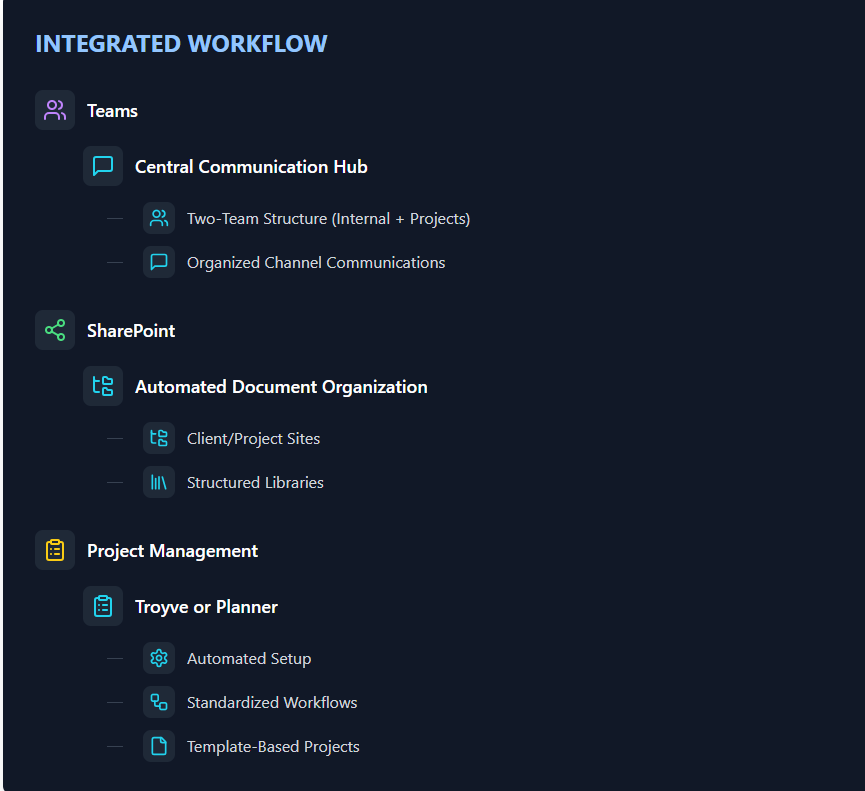
5. Automated Document Requests Inside Microsoft Teams (The Only One That Works)
How it works
Instead of sharing folders or inviting users, firms send secure upload links tied to:
- A predefined document checklist
- Automatic SharePoint folder creation
- Real-time tracking
- Team notifications in Microsoft Teams
Clients:
- Click a link
- Upload exactly what’s requested
- Never log in
- Never see SharePoint
Staff:
- See progress instantly
- Receive Teams notifications
- Get files auto organized and named
- Trigger downstream tasks automatically
This approach aligns with how Microsoft 365 is meant to be used:
- SharePoint for storage
- Teams for work
- Automation for coordination
This is the model behind Trovve Vault — built specifically for professional services firms running on Microsoft 365.
Verdict: Scalable, client-friendly, and operationally sound
Why Most Firms Think SharePoint Is the Problem (But It’s Not)
SharePoint is incredibly powerful — but it was never designed to:
- Chase clients
- Enforce document checklists
- Send reminders
- Coordinate work across teams
When firms say, “SharePoint is messy”, what they really mean is:
“We’re using SharePoint without an intake layer.”
Final Takeaway
If your firm already uses Microsoft 365, you don’t need:
- Another portal
- Another login
- Another system outside your tenant
You need a proper document intake workflow that sits on top of SharePoint and Teams.
That’s exactly why tools like Trovve Vault exist.
Want to See This in Action?
We’re onboarding a small group of accounting firms looking to eliminate document chasing — without changing how clients work.
Request early access to Trovve Vault
FAQs
1. What is the best way to collect client documents in Microsoft 365?
The most effective approach is using automated document requests layered on top of SharePoint and Microsoft Teams. This combines checklists, automation, tracking, and notifications—without forcing clients to log in.
2. Why is email a bad way to collect client documents?
Email is unreliable at scale. Attachments get buried; versions are mixed, files must be manually processed, and staff spend excessive time chasing and organizing documents.
3. Is SharePoint Request Files good enough for accounting firms?
SharePoint Request Files is useful but incomplete. It allows uploads without login, but lacks document checklists, progress tracking, reminders, and workflow automation needed for tax and accounting work.
4. Why shouldn’t firms invite clients as external SharePoint users?
External guest access introduces friction for clients (logins, verification issues) and increases security, governance, and support overhead for firms—making it impractical for routine document intake.
5. How does Microsoft Teams improve document collection?
Teams provide real-time visibility and notifications. When document intake is automated and connected to Teams, staff instantly see progress, know what’s missing, and can trigger downstream work without manual follow-up.
6. Is SharePoint the reason our document management is messy?
No. SharePoint is a storage platform, not an intake system. Most issues arise because firms lack an intake layer to enforce structure, automate reminders, and coordinate work.
7. Do clients need Microsoft accounts to upload documents?
Not with the right setup. Modern intake workflows allow clients to upload securely via links—no Microsoft login, no SharePoint access, no confusion.
8. Can Microsoft 365 handle client document intake without third-party portals?
Yes. When done correctly, Microsoft 365 (SharePoint + Teams + Automation) can handle document intake natively—without forcing clients into new portals or systems outside your tenant.